A few weeks ago, I finally got to try making the Ube Cheese Pandesal, which is sort of trending in the Philippines. I was able to buy frozen grated ube from the Filipino store near our place. On my first try, I decided to make the Ube halaya from scratch and use it for the pandesal recipe because I find the bottled ones too sweet and gooey. I wanted to make something like the one that my mom used to cook ever since we were young. I'll try to upload a recipe for that homemade ube halaya next time. The dough turned out a little bit tacky at first, but as I worked the dough, it became more manageable. However, for the second batch that I made, where I used dehydrated ube, the dough turned out super duper sticky. I thought it was not going to work. It remained sticky until before I rolled the pandesal in bread crumbs. The first batch of Ube Cheese Pandesal turned out flatter than I expected, but it was so delicious. I only put cheese inside. I decided not to put Ube halaya as filling because I thought that it would be overkill already. I liked how the pandesal was kind of crunchy on the outside and chewy on the inside. On the other hand, for the second batch that I made, where I used dehydrated ube and bottled ube jam and cheese as filling, the pandesal turned out so soft and fluffy. The texture was super amazing. It was like a pillow! However, I found the taste of the bread itself a little bit bland. I am not sure if it was because I did not add sugar to the dehydrated ube when I rehydrated it or if because the ube jam filling is too sweet. Overall, I liked the taste of the first batch and the texture of the second batch. I am hoping next time that I would be able to combine both to make the perfect Ube Cheese Pandesal. 😆
(Scroll to the bottom to see the recipe.)
Here are pictures of the first batch that I made:
 |
| homemade Ube Halaya |
 |
| dry ingredients |
 |
| wet ingredients |
 |
| mixing the dough |
 |
| almost incorporated |
 |
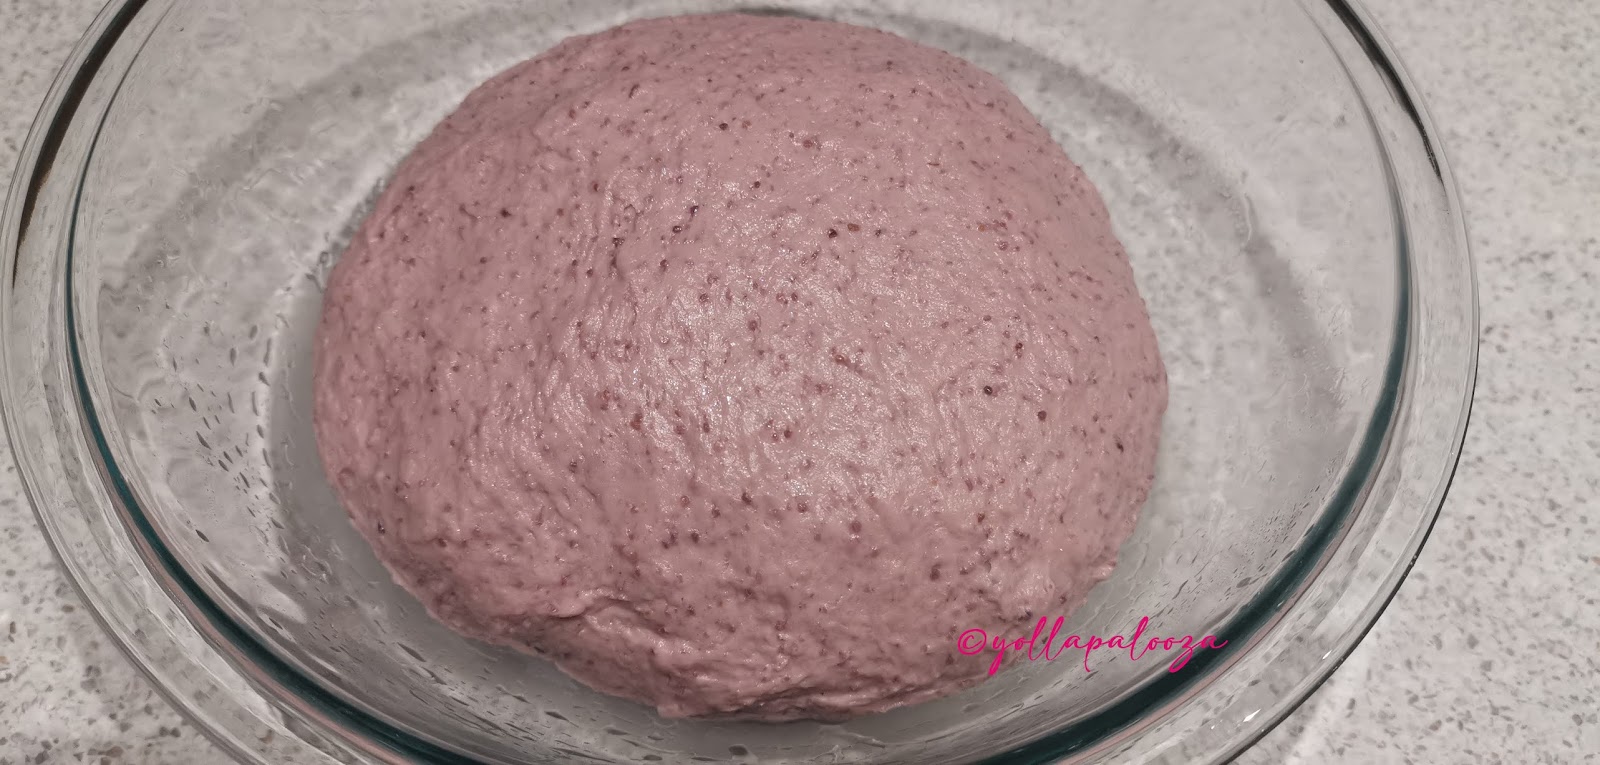
| ready to prove |
 |
| after first prove |
 |
| cheese filling |
 |
| bring edges together |
 |
| roll into a ball |
 |
| place on baking tray |
 |
| second proving |
 |
| roll in bread crumbs |
 |
| ready to bake |
 |
| baking |
 |
| done! |
 |
| Cheesy Ube Pandesal (Frist batch) |
Here are pictures of the second batch that I made:
 |
| dehydrated ube |
 |
| bottled ube |
 |
| ingredients |
 |
| proved yeast in milk with sugar |
 |
| ready to prove |
 |
| super sticky dough |
 |
| ready to bake (already done proving the 2nd time) |
 |
| baked! |
 |
| big and fluffy |
 |
| pillowy texture |
UBE CHEESE PANDESAL
Makes 13-15 rolls, around 72g each
INGREDIENTS:
- 245 g milk
- 14 g yeast with improvers or 7 g active yeast
- 2 cups plain flour
- 1 cup strong flour
- 90 g white sugar
- 100 g canola oil
- 1 tsp salt
- 1 tsp vanilla essence
- 165 g ube halaya
- 1 block cheese, cut into cubes
- violet food coloring gel
PROCEDURE:
IF USING YEAST WITH IMPROVERS:
- Combine the plain flour, bread flour, salt, white sugar and half of the yeast in a bowl and mix thoroughly.
- Add half of the milk (cold or in room temperature) and the vanilla extract. Mix a little.
- Warm the remaining milk. Add the remaining yeast.
- Add the milk and yeast mixture, as well as the food coloring, to the flour mixture. Mix a little bit until ingredients are a little bit incorporated.
- Add the ube halaya and mix well.
- Once the dough has come together, add the oil. Continue kneading. This will take some time but don't fret.
- Transfer the dough on a clean and lightly floured surface and knead it for a few minutes until smooth. Use the windowpane test to ensure that the gluten has developed nicely. You can also press the dough and if the pressed part bounces back, then the dough is ready.
- Roll the dough nicely into a ball. Place in a lightly greased bowl and cover with a damp towel. Let prove for an hour or two, until it has doubled in size.
- Once the dough has double in size, gently deflate the dough by pressing. Roll the dough into a log and cut according to the size that you want. It is best if you get the total weight first and then divide it into the number of even pieces that you want.
- Once cut, take each piece and of dough and place one cube of cheese inside and bring the edges together to seal. Roll the dough in between the palm of your hand and your working surface to form balls.
- Place the dough balls on a non-stick baking tray or a baking tray that is lined with baking paper. Make sure that there is 1 to 2 inches gap in between each to allow for it to prove.
- Let the dough balls prove again.
- Meanwhile, preheat your oven at 180C.
- Once the dough balls have proved, roll each dough in bread crumbs and arrange on the baking tray again.
- Bake for 10 to 15 minutes at 180C.
- Once baked, remove from baking tray and place on a wire rack to cool down. Enjoy!
IF USING ACTIVE YEAST:
- Warm the milk. Add the yeast and 1 tbsp. of sugar. Allow to prove or wait until frothy.
- Mix the plain flour, strong flour, white sugar and salt together.
- In a mixing bowl (if using a mixer), transfer the milk and yeast mixture, vanilla essence and food coloring.
- Add 1/3 of the dry ingredients to the milk mixture and mix a little. Continue adding the remaining dry ingredients gradually. Doing this ensures that the ingredients are incorporated properly.
- Add the ube halaya and continue mixing until everything has been incorporated.
- Once the dough has come together, add the oil. Continue kneading. This will take some time but don't fret.
- Transfer the dough on a clean and lightly floured surface and knead it for a few minutes until smooth. Use the windowpane test to ensure that the gluten has developed nicely. You can also press the dough and if the pressed part bounces back, then the dough is ready.
- Roll the dough nicely into a ball. Place in a lightly greased bowl and cover with a damp towel. Let prove for an hour or two, until it has doubled in size.
- Once the dough has double in size, gently deflate the dough by pressing. Roll the dough into a log and cut according to the size that you want. It is best if you get the total weight first and then divide it into the number of even pieces that you want.
- Once cut, take each piece and of dough and place one cube of cheese inside and bring the edges together to seal. Roll the dough in between the palm of your hand and your working surface to form balls.
- Place the dough balls on a non-stick baking tray or a baking tray that is lined with baking paper. Make sure that there is 1 to 2 inches gap in between each to allow for it to prove.
- Let the dough balls prove again.
- Meanwhile, preheat your oven at 180C.
- Once the dough balls have proved, roll each dough in bread crumbs and arrange on the baking tray again.
- Bake for 10 to 15 minutes at 180C.
- Once baked, remove from baking tray and place on a wire rack to cool down. Enjoy!
IF USING DEHYDRATED UBE:
- Mix 100 g ube powder and 223 g water in a saucepan.
- Heat until the ube mixture comes together. It will become thick.
- Add sugar according to your liking. When I did this, I did not add sugar. This is probably the reason why my second batch of pandesal turned out a bit bland.
NOTES:
- The dough will always be tacky, don't panic. It will still turn out okay. I used two forks to hold the dough balls while dipping them in bread crumbs. They were just too sticky to hold. Once they were covered with breadcrumbs, they became easier to handle.
- Watch the pandesal while baking. Once it starts turning a little bit brown, then it will be done in a minute or two.
- Making your own ube halaya from scratch is way better than using the dehydrated or bottled ones.
- I prefer putting just the cheese as filling. I find the bottled ube jam too sweet as filling but well, it depends on your taste!


No comments:
Post a Comment